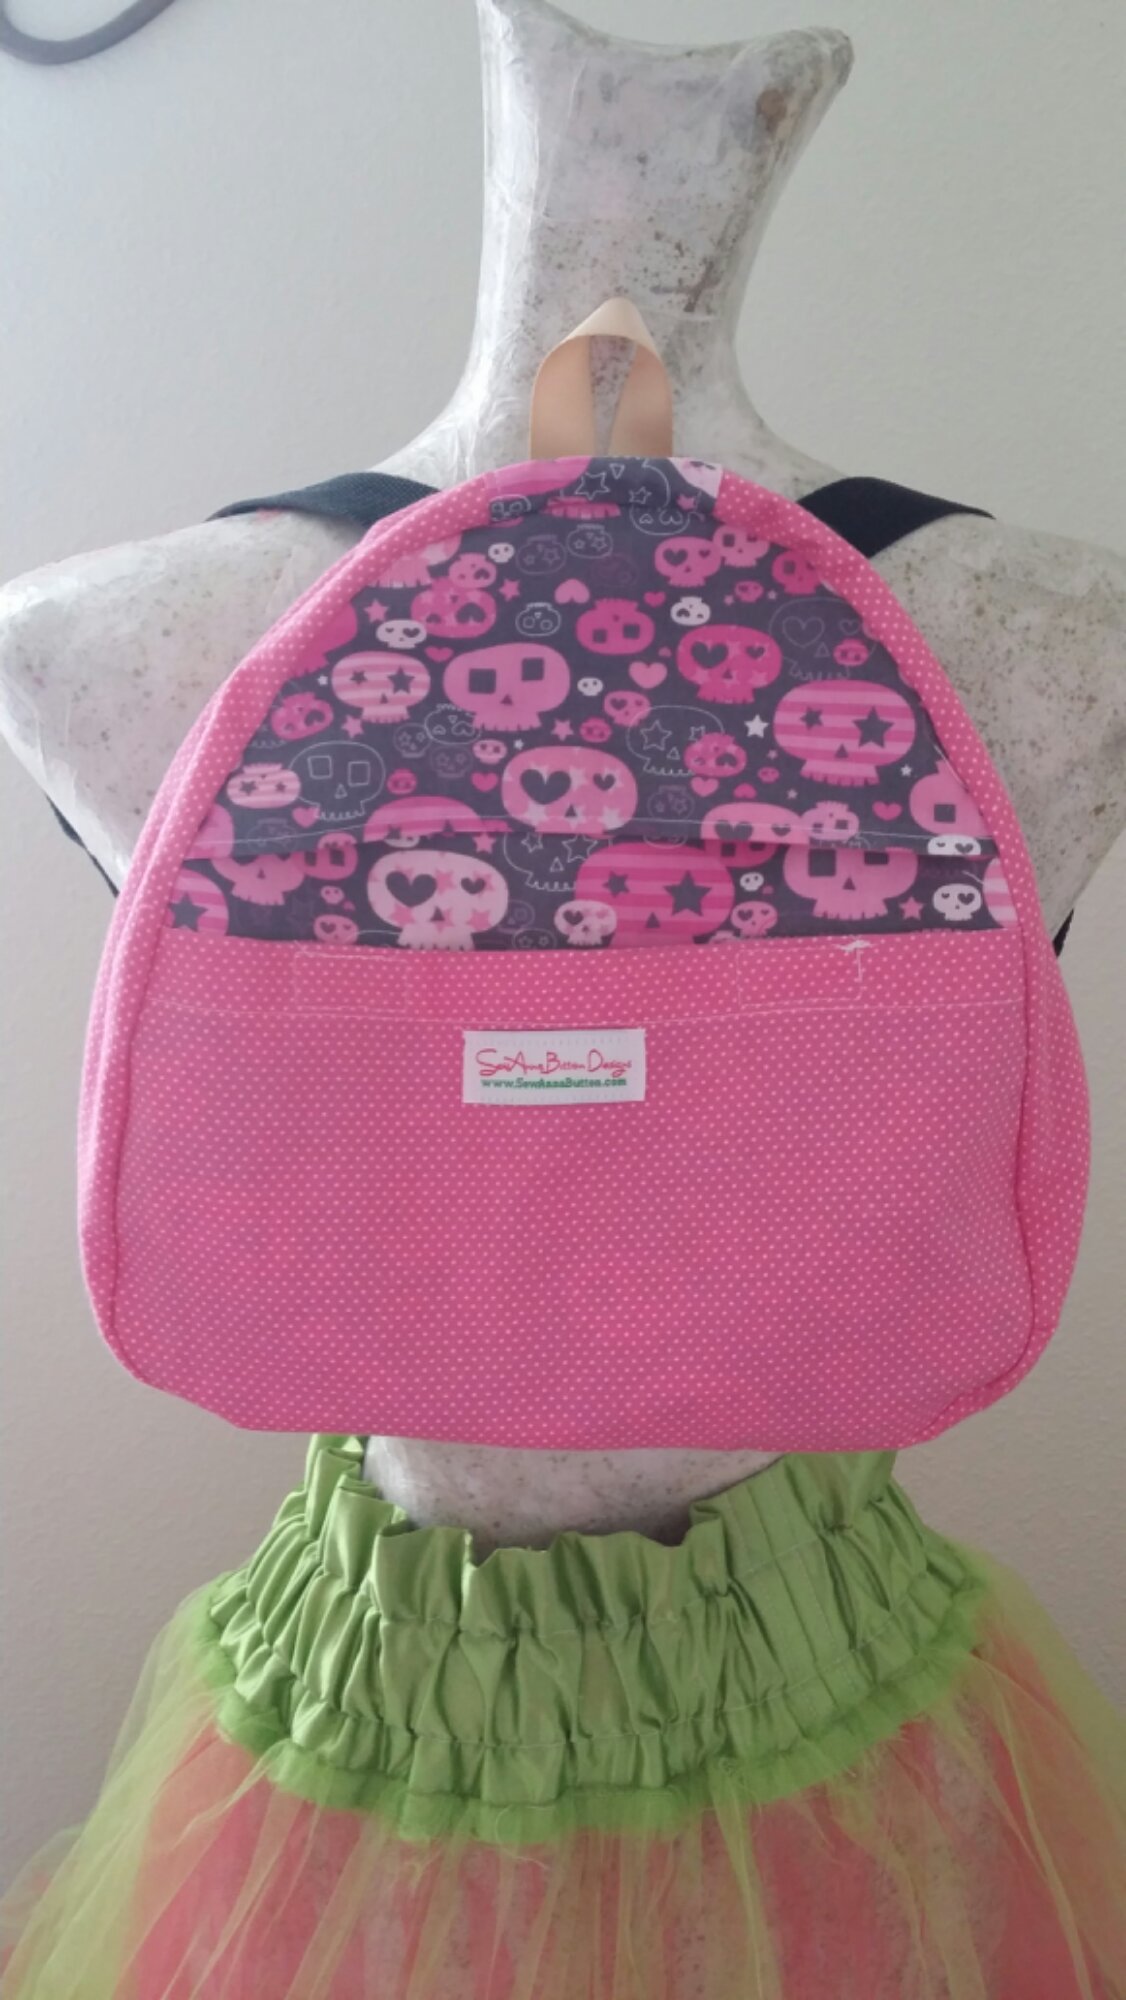
I am a baby wearing junkie. While I have only a few carriers mostly made by me, I wear my girls as much as I can especially when out running errands or during family time. My usual carrier is a Full Buckle Soft structure carrier. It seems that my babywearing has worn off (hahah Pun intended) on Venom. She usually brings me a scarf and asks me to help her wear her babies. I decided that I would make her a Mei Tei for her dolls so that she could have a carrier too. I plan to make her a Buckle eventually but she’s in love for now. She’s spent the day carrying her Rainbow Dash around while building with her legos.
Without further ado, the Tutorial.
Dolly Mei Tai Tutorial
This pattern/ Tutorial is for personal use only. Do not Copy or redistribute for profit.
First: Make sure to prewash, dry and iron your fabrics. This helps preshrink and get the chemicals from milling out of your fabrics. Sew all pieces with a 1/2″ seam allowance.
2nd: Cut 2 body pieces (one inner and one outer), 4 hood, 2 straps and 1 waist tie. Pattern pieces are found here. Body Pieces shows seam allowance and needs to be cut on outer black line.
3rd: Fold and Pin straps in half. Make sure to copy the turning hole marks on the waist strap. Trim at corner points. Then turn making sure to poke the point out using a blunt object. (I use a double point knitting needle or a chopstick. A seam ripper can be used but care must be taken to make sure to not rip a hole in the ends.) Press straps.
4th: Topstitch the arm straps. Do not topstitch waist, that will come after the body is sewn.
5th: Pin straps to the right side of one body piece. Leave 2 inches overhang so that we can secure them with Xboxes after turning. Pin the excess strap down to the body piece. This keeps them from getting caught under your presser foot.
6th Pin hood pieces right sides together and sew, Repeat for both the inner and outer. Pin right sides of outer edge together and sew. Press the seam allowance open and then turn right sides out and topstitch edge. Pin body piece between the straps.
7th: Pin Body pieces right sides together and sew around it. Trim corner points. Then turn and press. Find center of bottom edge and pin to center mark on waist strap. Body piece should be 1 inch inside waist strap. Pin in place and make sure that your seam allowance is all tucked in
8th: Topstitch around waist strap. Trim all threads and add tag (optional)
9th: (optional) Sew Xboxes where straps are sewn on.
If you can’t sew and wish to get your Little one a Carrier, you can find them at https://www.SewAnnaButton.com


